[ PRACTICAL GUIDE / COLOR & LIGHT ]
Why does red light lose detail after you grade AI footage?
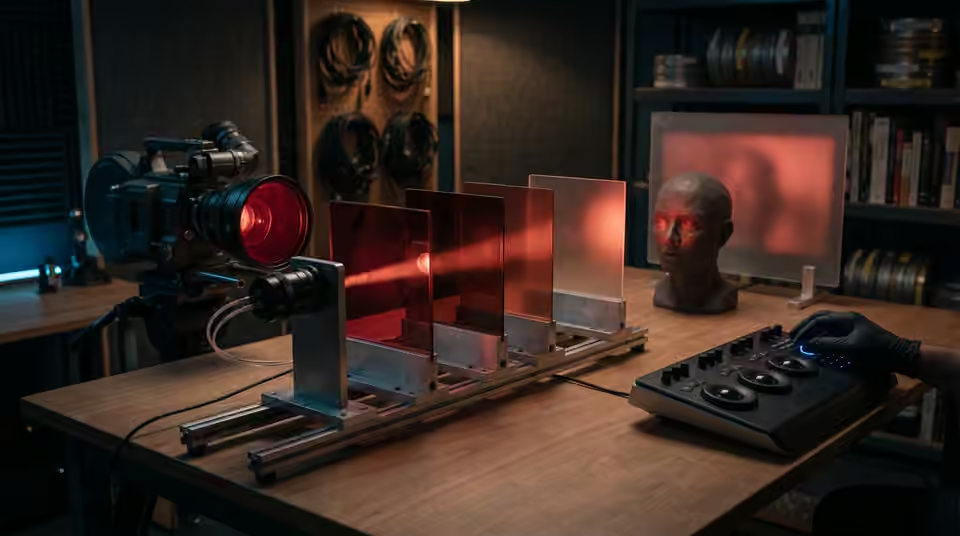
[ THE SHORT ANSWER ]
A red-lit scene can lose separation when the source, grade and output processing push its colors into a narrower visible range. Before reducing saturation across the entire film, locate the stage where faces, fabric or highlights stop being distinct.
Inspect the source without the look
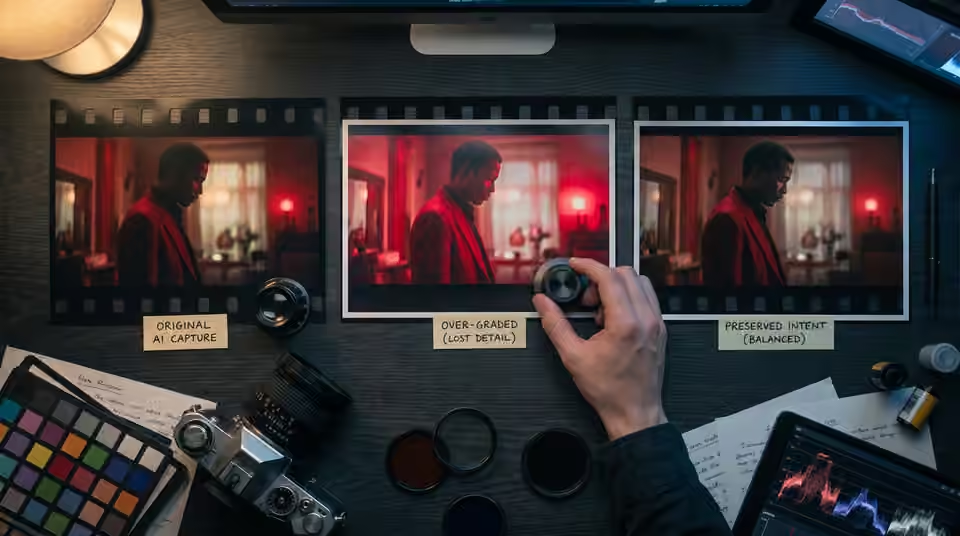
Pause on a representative frame and compare the original with the treated version. Look for texture in the important area, not just whether the image feels vivid. If the original already contains a flat red patch, a creative adjustment cannot reveal detail that was never present in that file. Check other frames to see whether the problem is constant or appears only as the subject moves toward the light.
Compare local contrast and overall saturation
Temporarily reduce the strength of the creative stage and watch whether separation returns. If it does, refine that stage rather than changing every clip's source interpretation. Evaluate brightness relationships as well as colorfulness: a face and a wall can share a hue yet remain readable through their different luminance. Use the tools and scopes appropriate to your application to check the result rather than relying on a thumbnail.
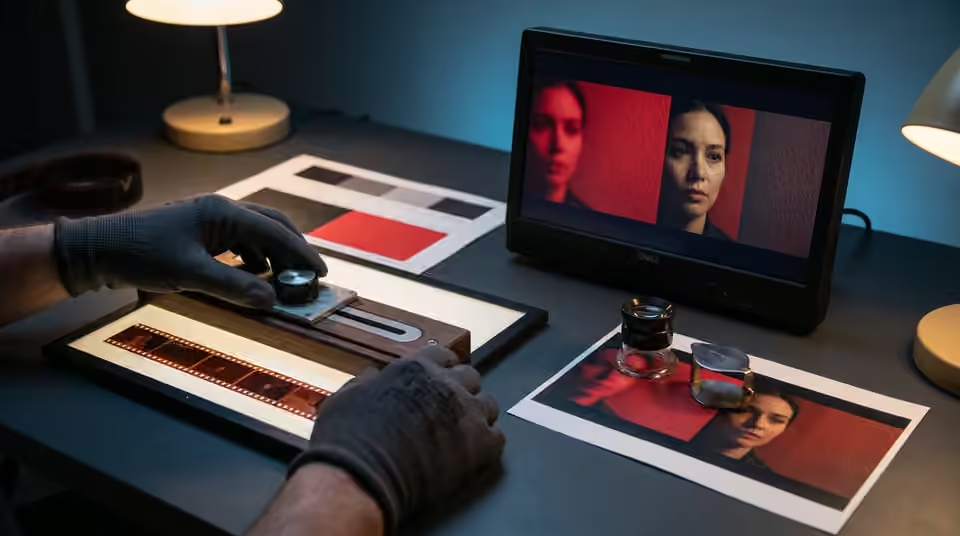
Preserve the intended lighting
Bad B$tch provides a published reference for reading intent: the red duet frame uses dark profiles against a luminous background. It would be a different image if both faces were lifted into neutral studio lighting. Use that distinction in your own scene. Protect the feature that carries the shot, while allowing areas intended as silhouette to remain dark. This is an observational reference, not evidence of a particular LUT or correction chain.
Working on the next decision? Read Why skin tones look wrong after a creative LUT.
Check the delivery before approving
Export a short section and review it through the expected playback route. Keep a copy of the settings used for that comparison. If separation survives the edit but disappears later, investigate the export and viewing path before modifying the whole grade. Approve the red scene alongside its neighbours so a local rescue does not create a new continuity problem.
Sources and further reading
- Why skin tones look wrong after a creative LUT ↗
- How strong should a LUT be on AI-generated footage? ↗
- Adobe: color management in Premiere ↗
- Blackmagic Design: Resolve color tools ↗
AI-assisted practical guide published by Chris Raw Studio. The linked references support the technical and product information; planning examples are illustrative. No original product test is claimed.